
A pot without drainage holes can leave roots sitting in water even when the surface feels dry. For a first container garden, you need little more than a pot that drains, a bag of potting mix, and a plant suited to the light you have. Getting those choices right matters more than buying specialized tools.
Containers let you grow herbs, flowers, and some vegetables on a balcony, patio, doorstep, or sunny windowsill. They also make you responsible for nearly all the water and nutrients the plants receive. Start with a few pots rather than a crowded collection: it is easier to see what each plant needs and make adjustments.
Match the plants to the light
Watch your intended spot over a clear day before buying plants. Direct sun means sunlight actually falls on the leaves; a bright-looking area may get none. Tomatoes, peppers, and other fruiting crops generally do best with at least six hours of direct sun. Leafy greens and some herbs can grow with less, though more slowly. In deep shade, shade-tolerant ornamental plants may be a better choice than edibles.
Consider how the spot changes through the growing season. A tree may leaf out, or a railing may shade a balcony at midday. Wind matters, too: exposed upper-floor spaces dry pots quickly and can damage tall plants. In a windy spot, choose compact varieties and stable, heavier containers. A sheltered position with adequate light may work better than the sunniest exposed corner.
For your first season, choose two or three plants with similar needs rather than buying every appealing seed packet. Bush beans, compact peppers, lettuce, parsley, and marigolds are possibilities, depending on your climate and light. Read labels for mature size and spacing. A vegetable labeled compact still needs root space and regular water.
Choose a container that works for the plant
Root room, drainage, and stability matter more than appearance. A small herb may do well in a pot roughly 8 to 10 inches (20 to 25 cm) across; a compact pepper generally benefits from several gallons of mix. A full-size tomato usually needs a much larger container and sturdy support. These are starting points, not fixed rules: variety, local heat, and watering conditions all affect how a plant grows.
- Drainage: Choose a container with holes in the bottom. If you want to use a decorative pot without holes, set a draining nursery pot inside it and empty any collected water after watering.
- Material: Unglazed terracotta loses moisture through its sides and may need more frequent watering. Plastic and glazed pots hold moisture longer. Fabric grow bags drain and allow air through, but can dry quickly in hot weather.
- Weight: A large container is heavy once filled and watered. Check balcony load rules where applicable, and put the pot in its final position before filling it.
- Depth and width: Leafy greens can grow in relatively shallow containers; plants with larger root systems need more volume. A wide planter gives several small plants room to spread.
Use a saucer where runoff might stain a surface or drip onto someone below, but do not leave the pot standing in water for long. Stones at the bottom do not replace drainage holes. They take up root space without reliably preventing soggy mix.
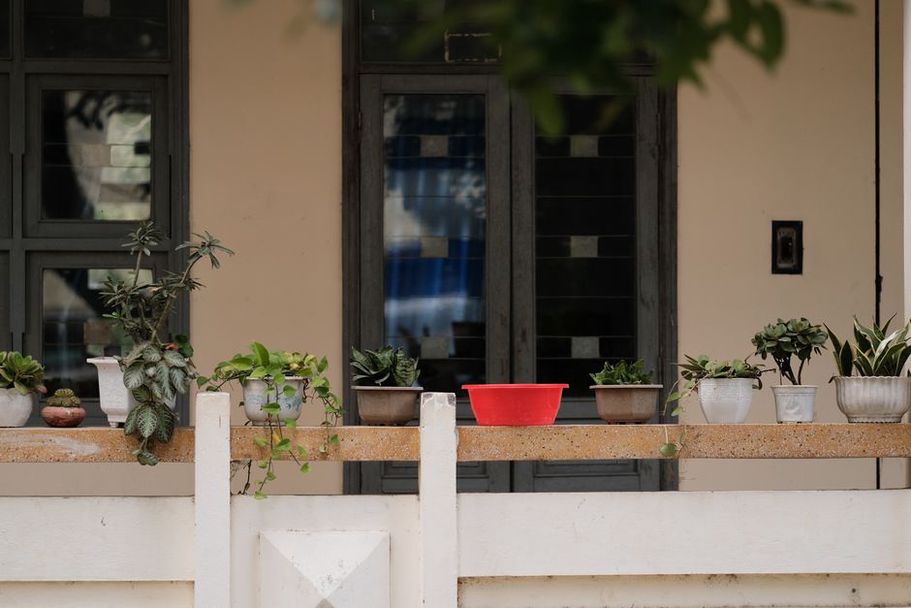
Fill with potting mix, not garden soil
Choose a mix labeled for pots or containers. It holds moisture while leaving air spaces around roots. Soil dug from a yard can compact in a pot, drain poorly, and bring in weeds or pests. If the potting mix is very dry, moisten it before planting; otherwise, water may run down the sides without soaking in.
Fill to about an inch (2 to 3 cm) below the rim so there is room to water. Do not pack the mix down; a gentle tap to settle it is enough. If it contains fertilizer, check the bag for how long those nutrients are expected to last before adding more.
Plant without overcrowding
Nursery-grown seedlings are the simplest way to start peppers and tomatoes. Look for healthy leaves, firm stems, and roots that are not densely circling the pot. Remove each seedling gently, loosen any tightly circling roots, and plant it at about the same depth it grew in its nursery pot. Tomatoes are an exception: buried sections of stem can develop roots.
Seeds are often cheaper for lettuce, radishes, and beans. Follow the packet's sowing depth and spacing instructions; tiny seeds and large seeds need different treatment. Keep the top layer of mix consistently moist while they germinate. Once the seedlings are growing, thin them to the recommended spacing by snipping extras at soil level. Pulling them out can disturb nearby roots.
Leave room for small transplants to expand. Crowded greens can still give you a harvest of young leaves, but crowded fruiting plants often struggle with airflow, water demand, and limited root space. Unless you plan to harvest plants young, give them their expected mature spacing.
Water by checking the mix
Water slowly after planting, until you see it drain from the bottom. This settles the mix around the roots. After that, put a finger into the mix: if the upper inch or so feels dry, water thoroughly and let the excess drain. A quick sprinkle can leave the surface looking damp while the root zone stays dry.
No single schedule works for every pot. A small container in hot wind may need water daily, while a large one in cool, cloudy weather may stay moist for several days. Check newly planted seedlings more often because their roots have not yet spread through the mix. Watering in the morning also gives wet leaves time to dry and lets you spot wilting before the hottest part of the day.
Drooping leaves do not always mean thirst; waterlogged roots can cause the same symptom. Check the mix before reaching for the watering can. If it is wet several inches down and the plant remains limp, check that the drainage holes are open and the saucer is not full. If the mix is dry, water slowly. Very dry mix may need a second pass once the first watering has soaked in.
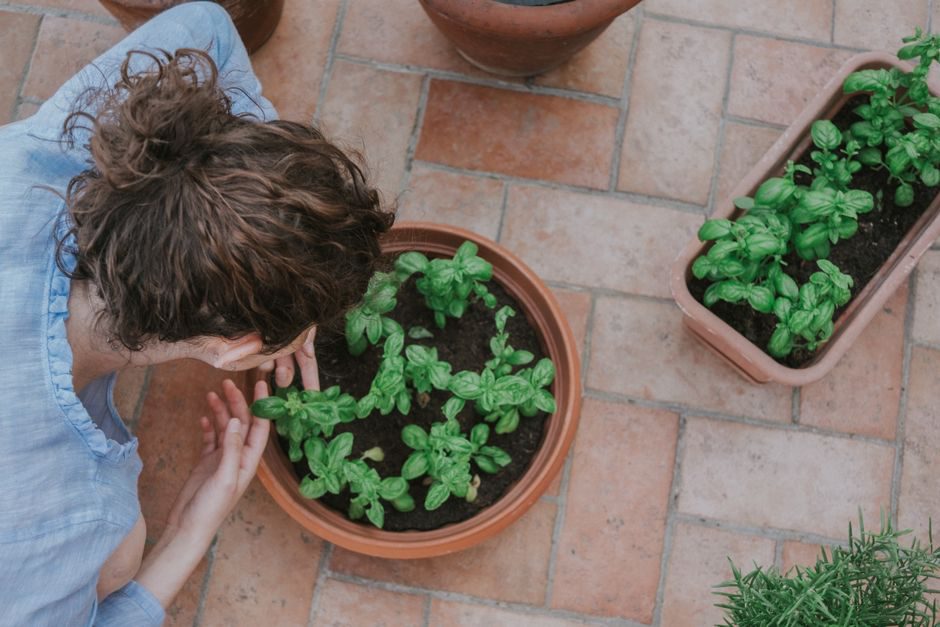
Feed according to what you grow
Nutrients wash out of containers over time, and productive vegetables use them as they grow. Follow the dilution and frequency directions on a fertilizer labeled for container plants. Check first whether your potting mix already contains fertilizer; adding more immediately can harm roots. Leafy and fruiting plants may have different needs, and extra fertilizer does not necessarily mean a bigger harvest.
A thin layer of clean straw or another suitable mulch can slow moisture loss in larger outdoor pots. Keep it clear of plant stems. On a windowsill, where space and airflow are limited, paying close attention to watering may be more useful than mulching.
Keep the setup manageable
Keep frequently harvested herbs near the door or kitchen if the light suits them. Place tall plants where they will not shade shorter ones, and add a tomato cage or stake at planting time rather than pushing it through established roots later. Leave enough space between pots to reach each plant and inspect the undersides of its leaves.
Look plants over while you water. Yellowing leaves, chewed edges, sticky residue, or clusters of tiny insects are easier to deal with early. Remove badly damaged leaves when appropriate, but identify the cause before treating the plant. Poor drainage, too little light, and irregular watering can look like pest trouble; an unwell plant does not automatically need a pesticide.
Weather still sets limits for a portable garden. Frost can damage warm-season vegetables, while sustained heat may make lettuce bolt and turn bitter. Check local frost dates when deciding when to plant, and move pots to shelter ahead of a cold night or severe storm. On an indoor windowsill, pay attention to cold glass and heating vents as well as sunlight.
One workable first arrangement is a large pot for a compact pepper in a sunny, sheltered spot and a wide lettuce planter nearby. Check the moisture in each rather than watering both on the same schedule. When the lettuce is ready, cut a few outer leaves from each plant and leave the center intact so it can keep growing.