
A bucket of vegetable scraps can start to smell long before it becomes compost. In a small outdoor space, the usual culprits are too little dry material and too little air. Start with a lidded bin that fits your patio or yard, a supply of dry leaves or torn plain cardboard, and somewhere to use the finished compost.
Choose a method that fits the space
Composting relies on organisms breaking down organic material. Ordinary backyard composting also needs moisture and oxygen. You do not need a large heap, but you do need a container you can reach easily, that drains without making a mess, and whose lid can open fully.
- Vented stationary bin: A practical choice for a patio, courtyard, or small yard. Add scraps at the top and mix them periodically. Unless it has a usable access door, you may need to empty the bin to collect finished compost.
- Compost tumbler: An enclosed drum you turn to mix its contents. It helps contain scraps, but still needs the right moisture and mix of materials. Check how much room it needs while turning, not just while standing still.
- Worm bin: A compact option for a shaded, sheltered spot. Worms process suitable food scraps, but they need more protection from heat, freezing, and drying out than an ordinary outdoor bin.
A small open pile can work where local rules allow it. Near seating, neighbors, or shared paths, an enclosed bin is often easier to manage. Check your lease, building rules, and municipal requirements before buying or making one; some places restrict outdoor bins or specify how food scraps must be contained.
Give the bin a workable location
Put the bin on level ground where you can carry scraps to it without crossing a crowded walkway. Bare soil lets liquid drain and soil organisms enter, but it is not essential: compost can form in a container on paving. On a balcony or paved patio, choose a bin that contains the material and manages liquid. Protect the surface if needed, and make sure drainage cannot reach a neighbor's space or a building entrance.
Partial shade helps prevent drying and overheating. Leave enough room to open the lid, stir, and remove compost. A bin tucked tightly into a corner may look tidy but be awkward to maintain. Keep it away from doors and vents if occasional odors would be a nuisance.
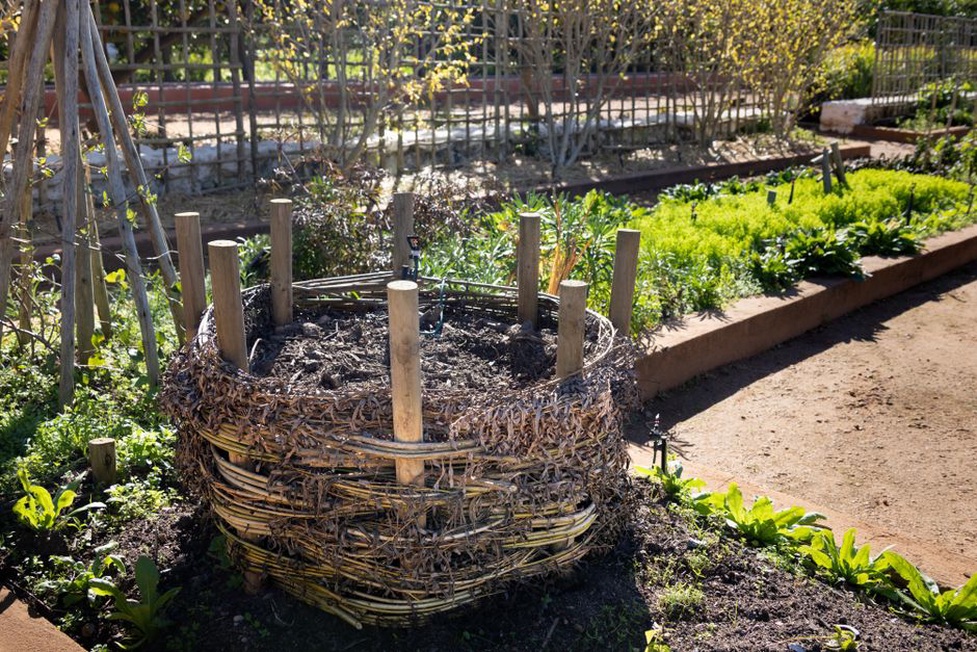
Build a mix of scraps and dry material
Composters call fresh, moist, nitrogen-rich materials greens and dry, carbon-rich materials browns. The names describe how they behave, not necessarily their color: coffee grounds are greens; dry leaves are browns. Food scraps on their own tend to settle into a wet, airless mass. Browns soak up moisture and leave space for air.
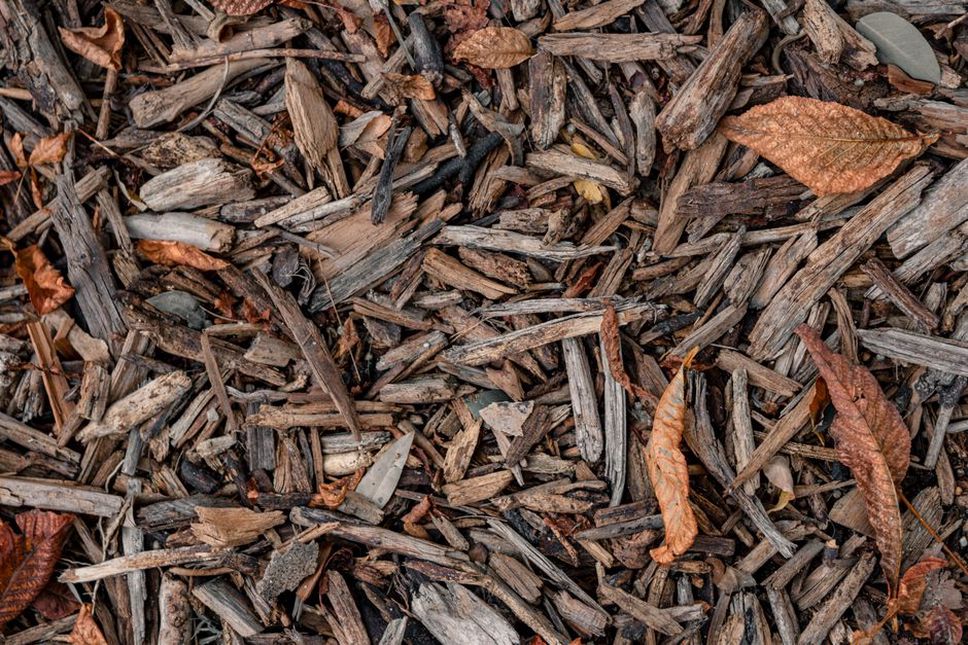
Vegetable and fruit trimmings, coffee grounds, tea leaves, and small amounts of fresh plant cuttings make useful greens. For browns, use dry leaves, shredded uncoated paper, torn plain cardboard, or small dry twigs. Remove plastic produce labels, tape, and staples, and leave out glossy or heavily coated packaging.
As a starting point, add roughly two to three loose handfuls of browns for each handful of food scraps, then adjust based on what you see and smell. Volume is easier to judge than weight in a small bin. Cut up large pieces enough to mix and cover them, but do not pulp scraps into a dense, wet layer. Keep dry leaves or torn cardboard in a covered bag or container beside the bin so you can cover each addition.
What to leave out
In a beginner's small outdoor bin, leave out meat, fish, bones, dairy, oily food, and cooked meals. They can attract animals and cause odors, especially if the bin does not heat evenly. Pet feces and litter do not belong in compost for edible plants. Avoid diseased plants, mature weeds with seeds, and plants treated with persistent herbicides unless you know your system can handle them safely. A small bin may never get hot enough, for long enough, to reliably destroy pathogens or weed seeds.
Modest amounts of citrus peel and onion scraps are fine, but a large quantity of any one ingredient can slow decomposition or create a strong smell. If you produce more scraps than you can mix with enough browns, send the excess to a local food-scrap collection service if one is available. Do not pack the bin full.
Set up the first batch
- Check drainage and airflow. Use a ventilated bin with a way to release or manage excess moisture. If you make your own, follow local requirements and fit a secure lid. Do not leave an open bucket of scraps outdoors.
- Add a loose base. Put dry leaves, torn cardboard, or small twigs at the bottom so the first scraps do not compact against it.
- Add a small portion of greens. Spread the food scraps out instead of dropping them in one mound. Cover them completely with browns.
- Check moisture. The mix should feel like a wrung-out sponge: damp, not dripping. Add a little water if the browns are very dry. If the bin is soggy, add dry browns and mix gently.
- Close the lid. Collect scraps in a small container indoors and empty it regularly. Rinse it as needed rather than letting scraps sit until they smell.
You do not need to fill the bin in a day. Small additions make it easier to see how quickly the mixture settles and how many browns your kitchen scraps need.
Keep the contents airy, damp, and contained
Look inside at least once a week, and more often in hot or rainy weather. Stir a stationary bin with a hand fork or compost aerator, moving material from the edges toward the center. Turn a tumbler as its design calls for, but do not expect spinning a nearly empty drum to make compost. Decomposers need material, moisture, and time as well as mixing.
If the contents look dusty and seem to have stopped breaking down, add water gradually and mix. If they look shiny or matted, or you can squeeze water out of them, add torn cardboard or dry leaves and loosen the clumps. Close the lid before rain and check whether water is getting in through drainage or ventilation openings. A sheltered position can make moisture easier to control in a wet climate.
Small bins may warm briefly, but often do not behave like large hot compost piles. Cool composting still works; it usually takes longer and does not offer the same assurance that weed seeds or pathogens will be destroyed. Finished compost may take several months or longer, depending on the materials, weather, and care. Cold slows the process, while heat can dry a small container quickly.
Read the common warning signs
- Rotten or sour odor: The mix may be too wet or compacted. Stir it, add dry, bulky browns, and hold off on fresh scraps until the smell settles.
- Ammonia smell: There may be too many nitrogen-rich materials. Mix in more dry leaves or torn cardboard.
- Visible food attracting flies: Bury new scraps in the existing material and cover them with browns. Keep the lid closed and wipe residue off the rim.
- Rodent activity: Stop adding food scraps that attract them, inspect the lid and openings, and use a secure bin suited to local wildlife. Covering scraps cannot make up for an easy way in.
- Little visible change: Check for dryness, oversized pieces, or a bin made up mostly of browns. Add a modest amount of greens if needed, then give the mixture time.
Some insects and fungi are normal. A few fruit flies when you open the lid are different from a persistent cloud around the bin. If they linger, look for exposed scraps or gaps in the container.
Know when the compost is ready to use
Finished compost is dark and crumbly, smells earthy, and has few recognizable food scraps. You may still see dry leaves or small bits of wood; screen them out and return them to the bin. If you add scraps continuously, separating finished compost from fresh material can be difficult. You can stop feeding a nearly full bin and let it mature while new scraps go into a second container or a local collection service.
Do not use material that smells sour or still contains obvious fresh food as potting mix. Finished compost works well as a thin layer over garden soil or mixed into soil for outdoor containers. It is not a complete replacement for potting mix: used alone in a pot, it can be too dense, and its nutrient content can vary. Keep unfinished scraps away from the stems and roots of plants you want to grow.
If you have only a few pots, think about how much compost they can use. Even after its contents shrink, a small bin may produce more than you need at once. Store finished compost in a breathable container protected from heavy rain, or offer extra to a community garden that accepts it.
Keep the first week simple: add one container of cut-up kitchen scraps, cover it with dry leaves until no food is visible, then check the moisture a few days later. What you find will tell you whether this bin needs more browns, a little water, or simply more time.