
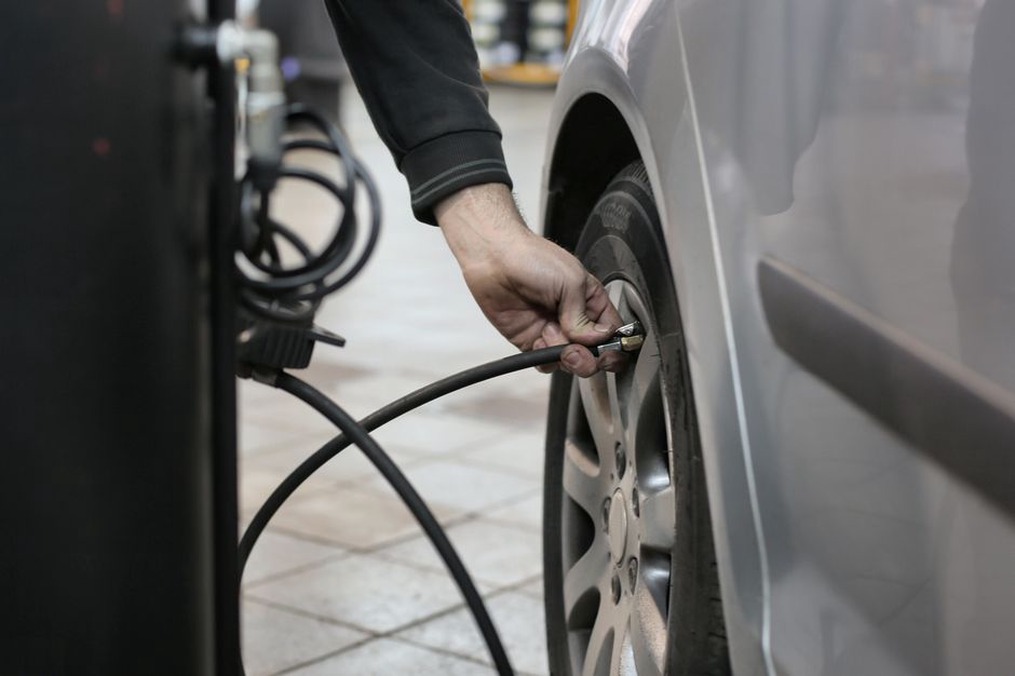
A tire can look fully inflated and still be soft enough to pinch against the rim at the first pothole. Before you ride, press each tire with your thumb and compare it with how it feels at its usual pressure. If you have a pump with a gauge, use the range printed on the tire sidewall as a starting point, while respecting the limits for both tire and rim. It takes less time than fixing a flat at the roadside.
Work through the bike in the same order each time: tires and wheels, brakes, steering and contact points, drivetrain, then trip-specific gear such as lights or luggage. This is not a full service every morning. It is a way to catch changes that could make the bike unsafe or leave you stranded.
Start where the bike meets the ground
Check tire pressure and condition
Soft tires roll sluggishly, handle less predictably, and are more prone to pinch flats. Pressure can drop between rides without an obvious puncture. A squeeze will catch a substantial change; a gauge will tell you the actual pressure. Tire sidewalls commonly show a permissible range, but the tire, rim, and bicycle manufacturer’s limits all apply. If they differ, stay below the lowest applicable maximum. Rider weight, tire width, surface, and comfort affect where within the permitted range a tire works best.
Inspect the tread and sidewalls for embedded glass, cuts, bulges, exposed casing, and uneven seating on the rim. A superficial mark is one thing; a bulge or visible fabric beneath the rubber is another. Do not ride on a bulging tire: it can fail suddenly. If a tire repeatedly loses pressure, topping it up before each trip does not fix the leak.
Check the valve, too. It should stand reasonably straight, and the tire should hold air after inflation. A sharply leaning valve may mean the tube has shifted inside the tire. On a valve with a removable core, a persistent leak around the core needs attention before a longer ride.
Make sure both wheels are secure
Check that each wheel is properly retained in the fork or frame. A quick-release lever should be fully closed, a thru-axle installed and secured according to its manufacturer’s instructions, and axle nuts tight. A quick-release lever that closes without firm resistance may be incorrectly adjusted. Do not treat it like a wing nut: the clamping force comes from closing the lever. If your axle system is unfamiliar, consult the bicycle’s instructions or ask a mechanic to show you.
Lift one end of the bike at a time and spin the wheel. Watch the gap between tire and frame or fork, and listen for rubbing. A faint disc-rotor sound may call for adjustment; a wheel that visibly wobbles, touches the frame, or will not spin freely needs investigation. Once it stops, gently move the rim sideways. Noticeable play may point to a loose axle or hub bearing, even if the wheel still turns.
Wikipedia’s bicycle overview illustrates basic bicycle parts and variations. It can help you identify an unfamiliar term on a repair sheet, though your bike’s own instructions are the better guide to its axle and brake hardware.
Test the brakes before you roll away
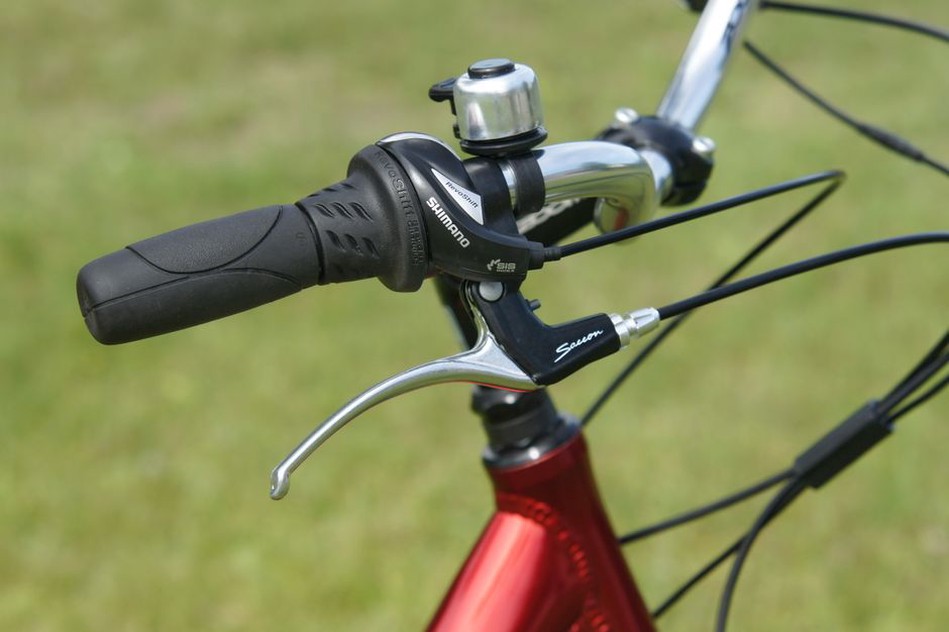
Standing beside the bike, squeeze each brake lever separately. Each should engage firmly before it reaches the handlebar. If a lever suddenly travels farther than usual, feels unusually soft, or reaches the grip, do not assume the brake will work at speed. A spongy or changing hydraulic lever needs diagnosis; on a cable-operated brake, the cable or its adjustment may be at fault.
Walk the bike forward and apply the front brake, then the rear. Each should stop its wheel. This also confirms which lever controls which brake, useful on a borrowed or recently serviced bike. Keep the test at walking pace; grabbing the front brake sharply while riding is not a safe test.
Inspect the braking surfaces where you can see them. Rim-brake pads should meet the rim’s braking track, not the tire, and the rim should be reasonably clean. A disc rotor should not be loose, visibly bent, or heavily contaminated. A little noise does not necessarily mean brake failure, but a sudden loss of stopping power, grinding, or metal-on-metal contact calls for a closer inspection. Check pad material periodically, even when the levers feel normal.
For a coaster brake, walk the bike while pressing backward on a pedal; the wheel should resist movement. A bike with only one working brake can be hard to stop reliably, especially on a wet road or descent. Postpone the ride if a brake has failed.
Check steering and the parts that support you
Handlebars, headset, saddle, and pedals
Hold the front wheel between your knees and gently try to turn the handlebars. They should not rotate independently of the wheel. There is no need to force them; you are checking for obvious looseness. If the stem or bar moves where it should be fixed, address it before riding.
To check for headset play, stand over the bike, apply the front brake, and rock it gently forward and back. A knock near the steering bearings may indicate looseness, though movement in the brake or fork can feel similar. Turn the bars from side to side as well. Steering should be smooth, without catching or pulling cables tight at either extreme. If you cannot locate a knock, have it checked instead of tightening unfamiliar bolts at random.
Gently try to twist the saddle by hand. It should stay aligned and should not tip unexpectedly. Check that the seatpost has not slipped below its minimum-insertion mark or risen above a marked maximum height. A loose saddle can upset your balance as soon as you put weight on it.
Look and feel for a bent or unusually loose pedal, or a new clunk. Crank arms should not shift sideways relative to the frame when you push them by hand. Knowing how the bike normally feels makes small changes easier to spot.
Give the drivetrain a short, practical test
Turn the pedals backward by hand if the bike allows it, or lift the rear wheel and turn the cranks forward. The chain should run smoothly, without an obvious stiff link, heavy rust, or a section ready to come off. Make sure it sits on the chainring and rear sprocket rather than between parts. If there is a chain guard, check for rubbing or looseness.
A dry, noisy chain may need bicycle-chain lubricant. Apply it sparingly and wipe off the excess according to the product instructions. Lubricant will not mend a damaged chain or remove grit from the drivetrain. Keep it off brake pads, rotors, and rim braking tracks; contamination can sharply reduce braking force.
On a geared bike, try a couple of shifts during a cautious roll on level ground. Hesitation, skipping under gentle pedaling, or a chain trying to move past either end of the rear sprockets needs investigation. Do not make a forceful test shift while crossing traffic. If the bike has recently fallen, check whether the rear derailleur looks crooked or sits close to the spokes; if it does, avoid riding until it has been assessed.
Chain tension matters on a single-speed bike, too. Too much sag can let the chain derail, while excessive tension can strain bearings. The right amount depends on the design, so consult the bike’s instructions or seek help if the chain suddenly feels different. For a belt drive, look for damage or unusual tracking, and follow the belt maker’s guidance rather than applying chain lubricant.
Match the final check to the trip
A sound bike still needs equipment suited to the ride. Before leaving, check anything that affects visibility, control, or the load you are carrying:
- Lights: Switch on the front and rear lights if you may ride in darkness or poor visibility. Check the charge or batteries and make sure the mounts hold the lights at the intended angle. Reflectors do not replace lights where lights are required.
- Bell or other audible warning device: Make sure it works, particularly where local rules require one or you expect to share paths with pedestrians.
- Luggage: Tug lightly on panniers, baskets, and straps. Nothing should swing into a wheel, catch a brake, or interfere with steering.
- Helmet and clothing: If you wear a helmet, check that it fits and is fastened as designed. Secure laces or loose clothing that could reach the chain or spokes.
- Route essentials: On a longer ride, consider water, a way to contact someone, and flat-repair supplies if you know how to use them.
Equipment and lighting rules vary by location, so check what applies where you ride. A working lamp is little help if a bag hides it or its mount points at the ground. After attaching new luggage, look at the bike from both front and rear.
Know when a quick check becomes a repair
Give the check a firm stopping point. Do not ride with an insecure wheel, a bulging tire or exposed casing, loose steering or a major contact point, or a brake that will not stop its wheel. A crack in the frame, fork, handlebar, or another structural component also calls for professional assessment; tightening nearby bolts will not make it safe.
Some findings are simple to put right before leaving, if you know how: inflate an otherwise sound tire, secure a light to its mount, or move a loose strap away from the spokes. For adjustments to an axle, brake, stem, or other safety-critical part, follow the manufacturer’s instructions and specified torque values. Guessing how tight a bolt should be can damage a component or leave it loose. If a new noise or change in handling has no clear cause, ask a mechanic to inspect it.
Finish with a short roll on quiet, level ground. Pedal gently, shift once if appropriate, and apply each brake smoothly. A wheel may rub only under load, a saddle may move only when you sit on it, or a brake may behave differently than it did in the walking test. If your rear light disappears behind a pannier when you mount the bike, move it to a visible position before joining traffic.